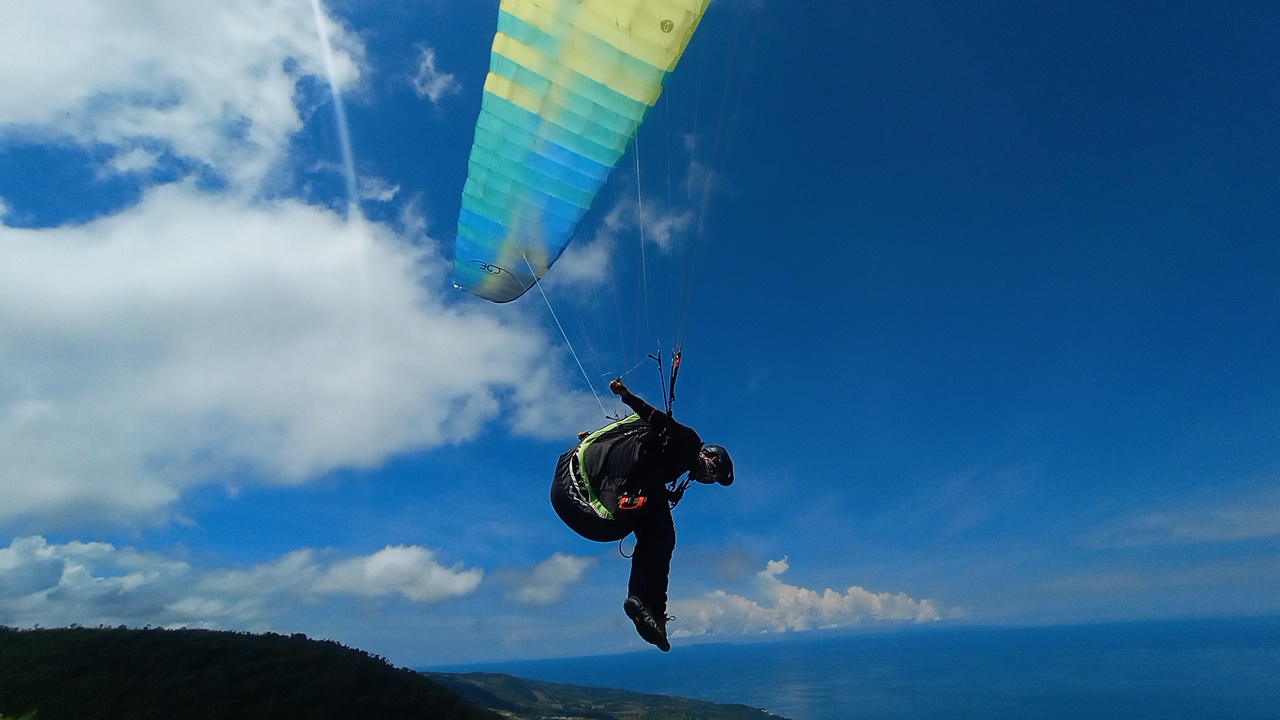
Capturing Your Paragliding Experience
A paragliding flight over Oslob is a once-in-a-lifetime moment — you'll want to capture every second. Here's how to get the best video and photos during your flight.
360° Action Camera (Package B & C)
Package B (₱4,200) and Package C (₱4,800) include a 360° action camera mounted on a selfie stick. This captures everything — you, the pilot, the view below, the mountains, the ocean — all in one shot. The footage is incredible because you can see the entire scene around you.
Can I Bring My Own Camera?
You can bring your phone, but keep these things in mind:
- Secure it properly — The pilot will help you with a phone mount or lanyard. Never hold your phone loosely — the wind can rip it from your hands.
- Use a wrist strap — If you're taking photos with a phone, use a wrist strap or phone grip.
- GoPro — If you have your own GoPro or action camera, you can bring it. Chest mounts work best for tandem flights.
Photo Tips During Flight
- Let the camera do the work — Set your phone to video mode before take-off. Don't fumble with settings in the air.
- Look at the camera, not the screen — You'll miss the actual view if you're staring at your phone.
- Ask the pilot — They know the best moments to take photos (launch, peak altitude, coastline view).
- Selfie with the view — The classic shot: your face with the ocean and mountains behind you.
After the Flight
If you chose Package B or C, your 360 camera footage will be provided after the flight. You'll get a full video of your entire flight from take-off to landing.
Get Package B or C for the best footage: oslobcebuparagliding.com/ticket